

5 Things You Might Have Missed On LinkedIn
Delivering a personal brand workshop last week, I was hit, yet again, by The Curse of Knowledge (something I’ve written about previously).
It was during a discussion about how to use LinkedIn to best effect, for not only profile-raising but building and keeping in touch with your network. At the point that I said it’s imperative to personalise your message when sending invitations, one delegate said: “But you can’t do that on the app.”
Which was wrong.
You can personalise an invitation on both the desktop and mobile versions of LinkedIn – it’s just that if you’ve yet to be cursed with ‘the knowledge’ you wouldn’t necessarily know how. Which got me wondering…
Are there other things about LinkedIn that are obvious to me but less obvious to others?
So I’ve compiled this list of five things you might be missing, all of them quite basic, starting with the exact example I was asked about.
1) Personalising invitations on your mobile
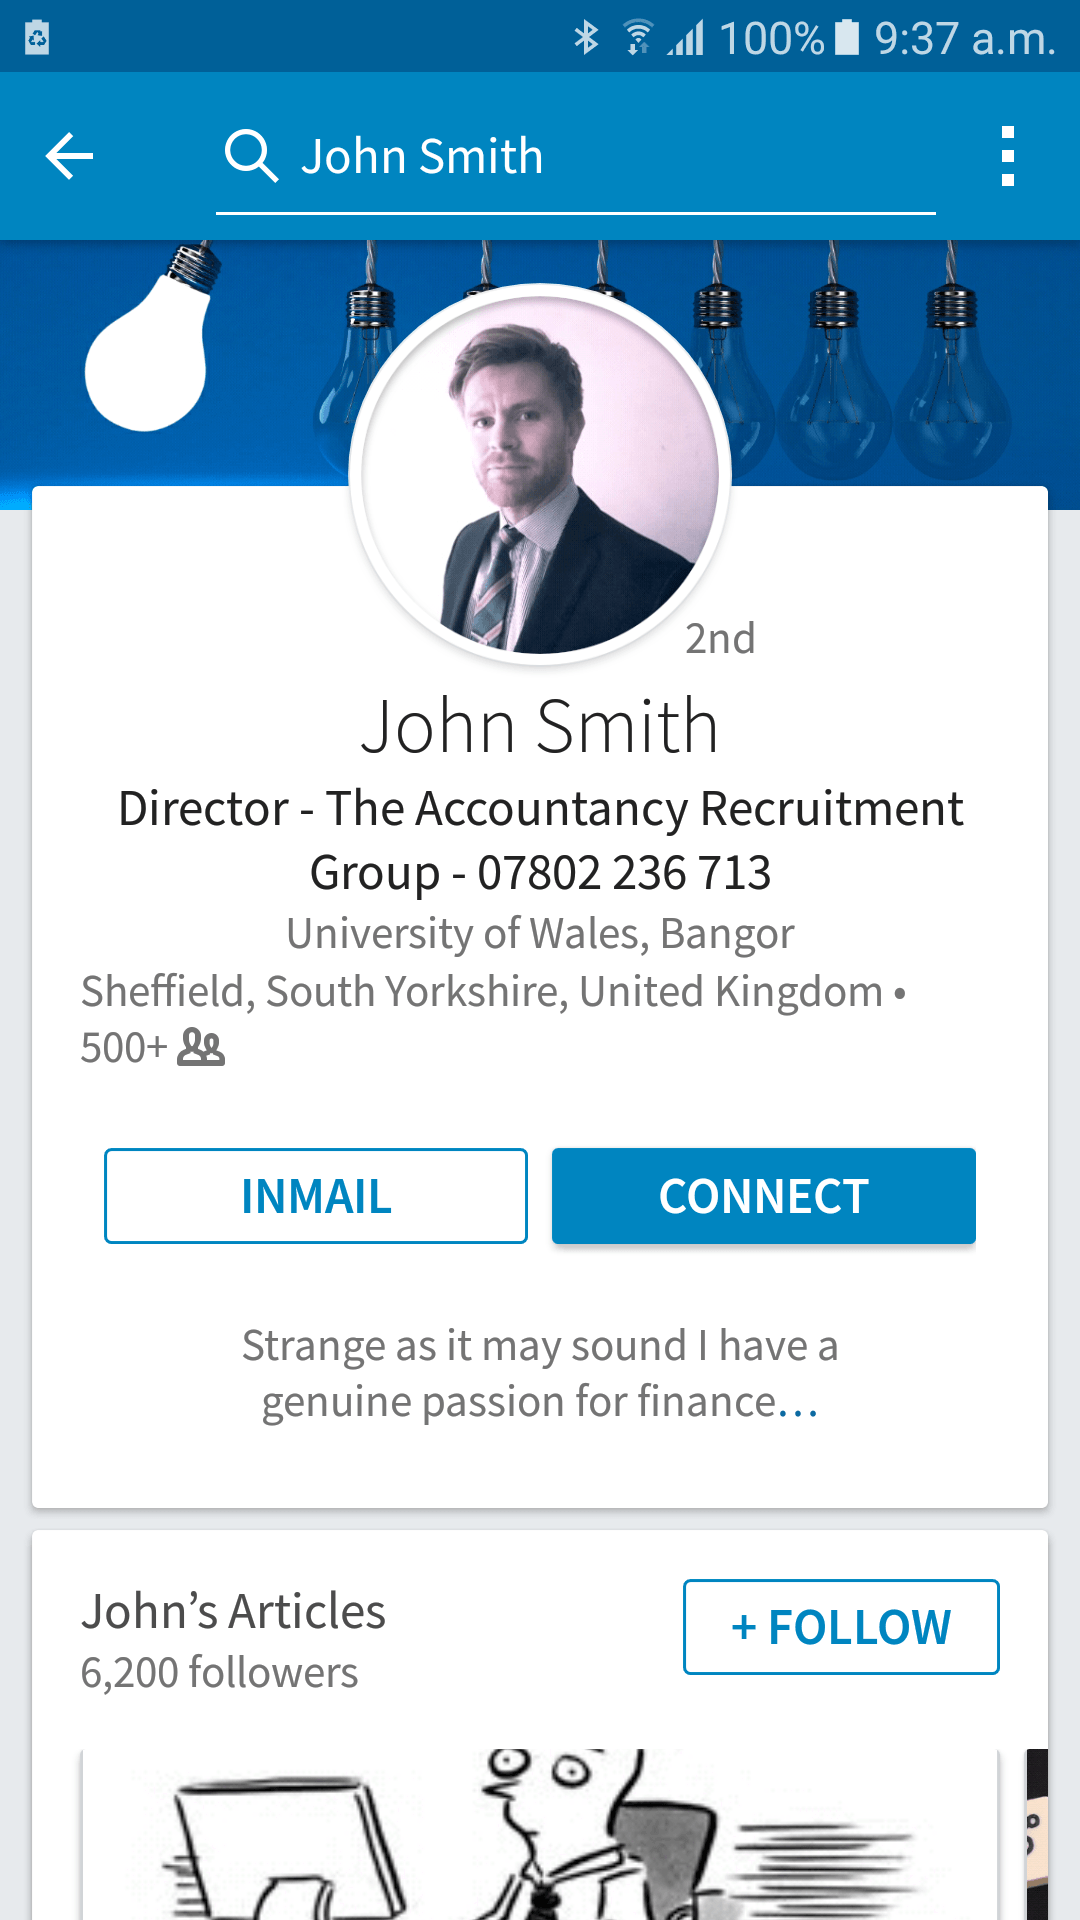
Go to the profile of the person you want to connect with. (I’ve chosen a random John Smith to illustrate it – hope he doesn’t mind!) Then click on the three dots in the top right of the screen.
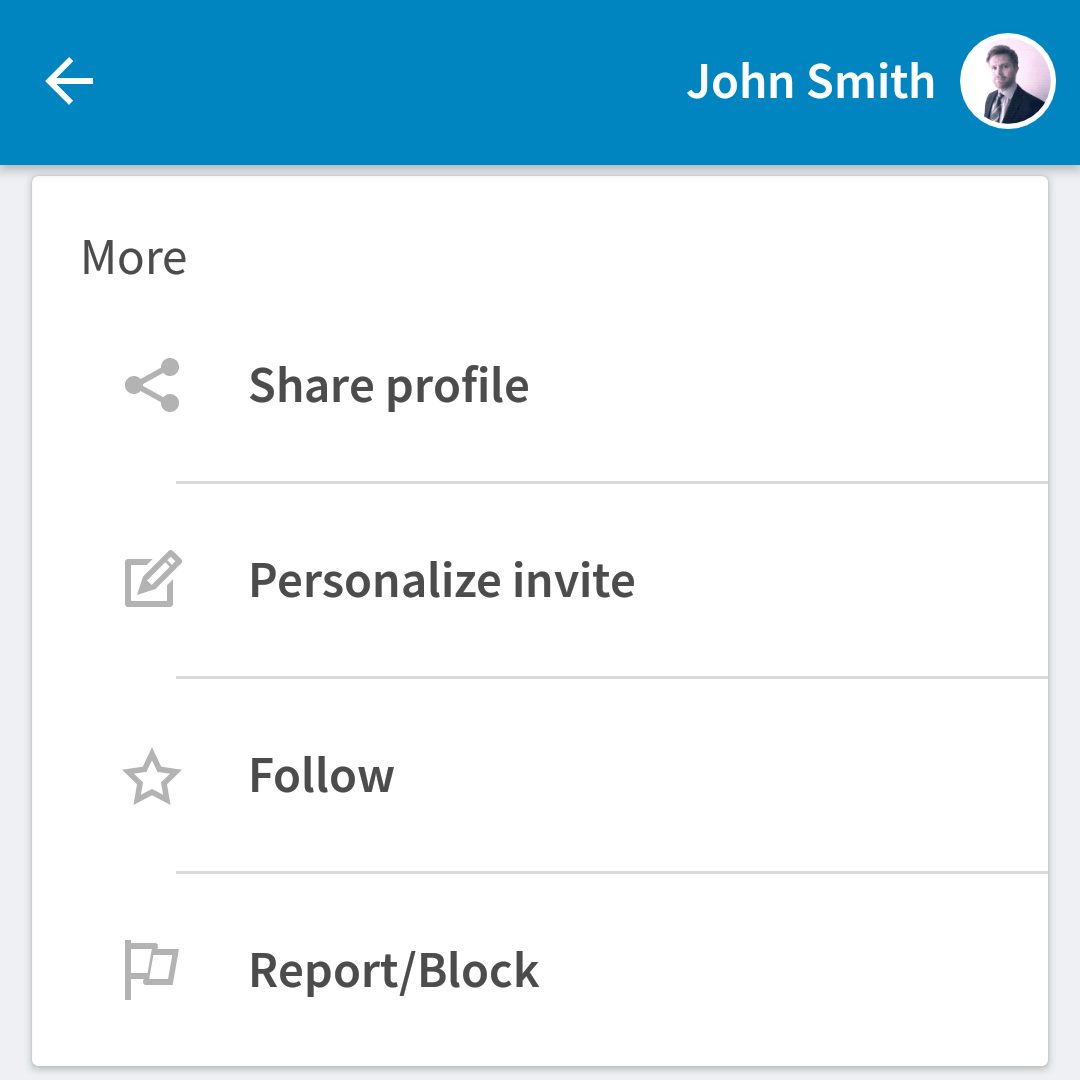
Once you do that, a menu will pop up and you can then choose ‘Personalise invite’, just like the following image shows. (It’s spelled ‘personalize’ on there, but I couldn’t bring myself to use the American spelling when I typed it just now – it’s the pedant in me!)
2. Personalise your url
It adds a nice bit of polish to your profile if its url (the web page address) has been personalised.
When you set up a profile, you’re automatically provided with a url formed of your name plus a random set of characters and numbers – for instance www.linkedin.com/in/john-smith-81a70
But by following the easy instructions set out by LinkedIn, you can edit out the gobbledigook after your name and either leave it at that (if someone hasn’t already pinched that url) or add in something else that’s relevant. For instance, my url is www.linkedin.com/in/jenniferhollowaypersonalbrand
3. Personalise your background
Have you ever noticed that a lot of people’s profiles have a plain blue background with some dots and lines on it, but others’ have a different picture? That’s because the former have left their background image as the standard one LinkedIn supplies and the latter have taken the time to personalise it
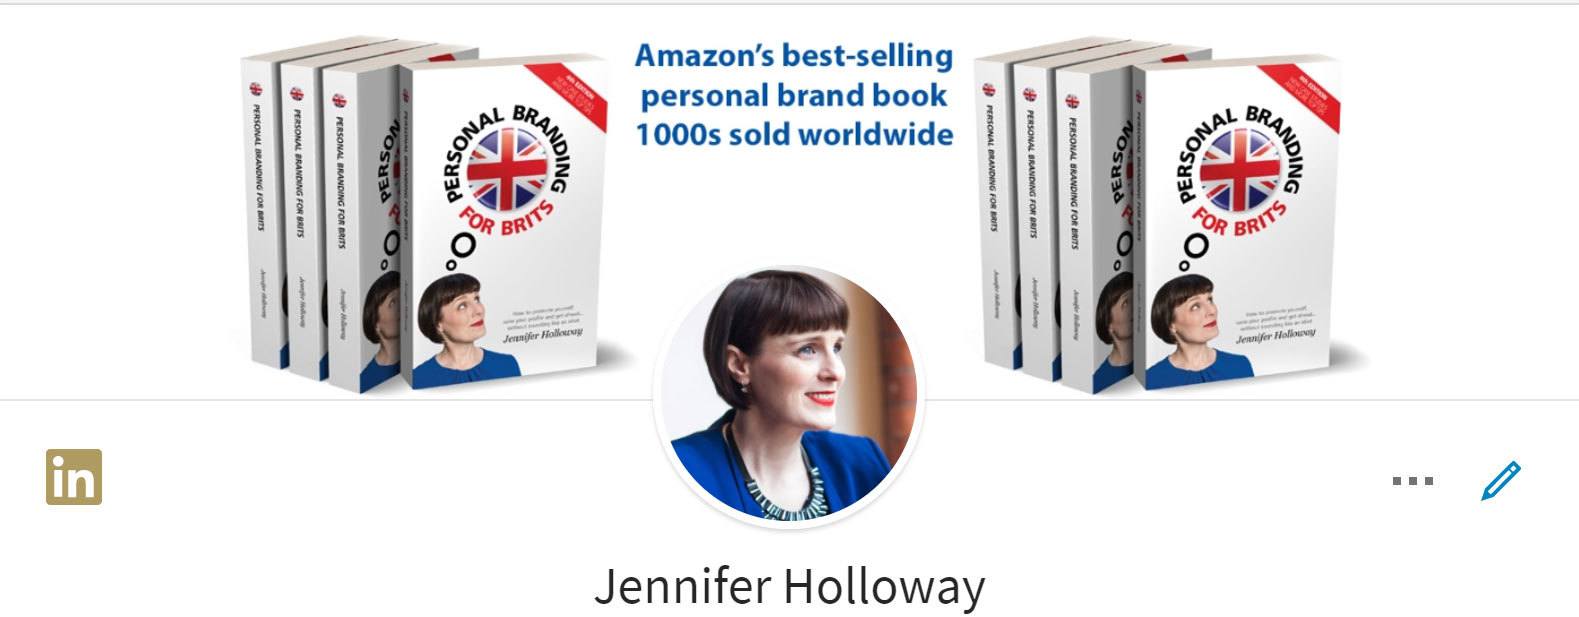
You can see in this example from my profile how easy it is. Simply go into your own profile and click on the bit that says ‘Update background photo’ then upload something appropriate and relevant to your personal brand. (Not just some random snap that’ll have people scratching their heads as to its relevance.)
To learn how best to make the most of the image you put up, I suggest reading this post by Mark Williams, a LinkedIn trainer, to find out about the best size picture to upload.
4. Adding pictures to comments
This is something that’s only just been launched so if you haven’t got it already, it should be rolling out to you any time soon.
Before, if you wanted to comment on an update someone had posted, you had to stick to words to do it. Now, by clicking on the comment box then choosing the camera icon that appears, you can upload a photo to help get your point across.
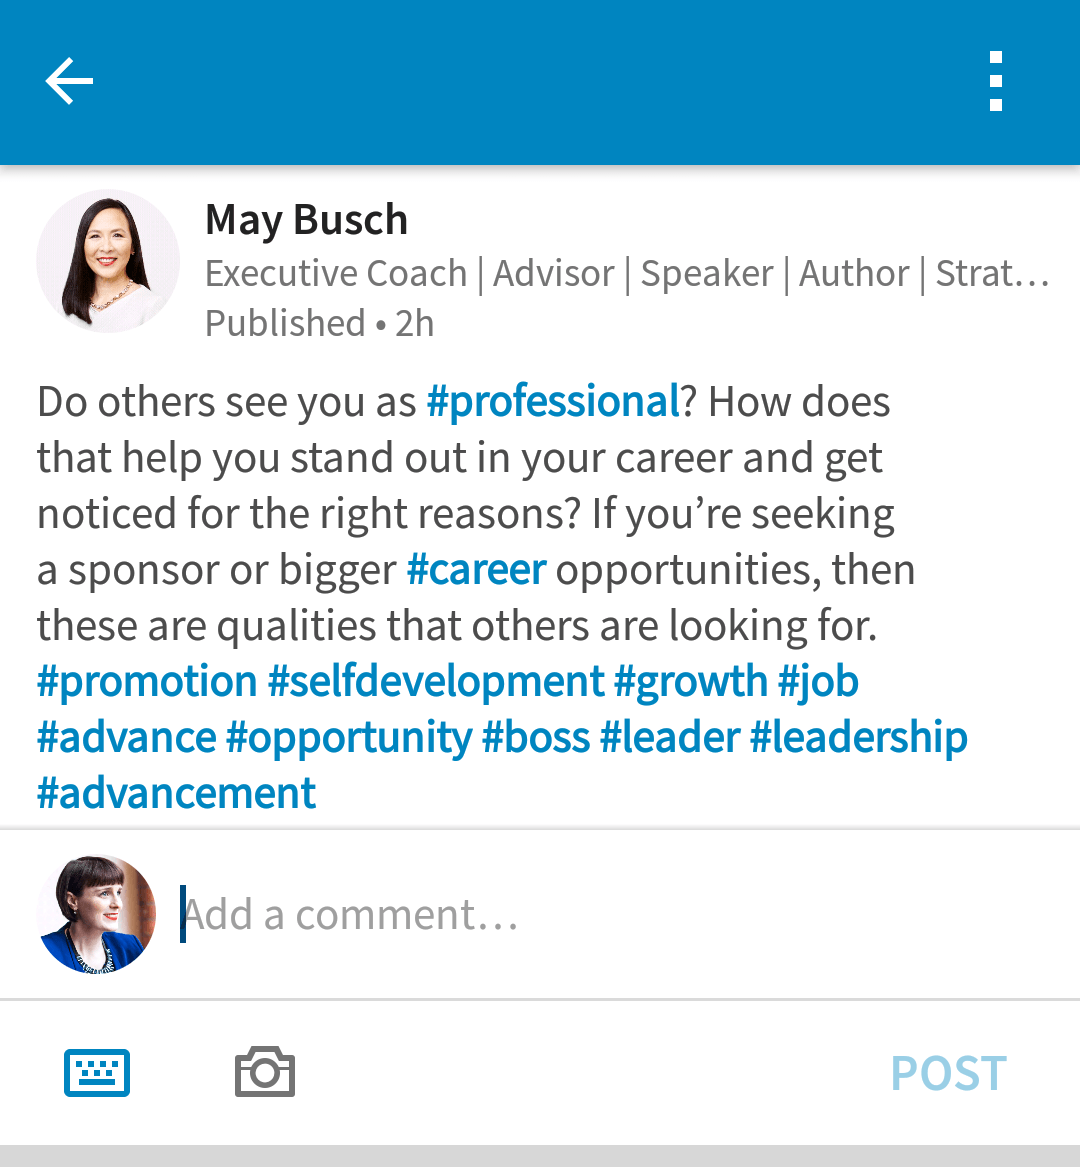
And as there are plenty of statistics that show that adding a photo gets more people looking at your updates, it’s a good idea to give it a go.
5. Hide connections’ updates – but stay connected
I’ve saved the best til last. What I’m about to share with you has drastically reduced the time I spend on LinkedIn looking at updates and could do the same for you.
If you’re connected to a whole heap of people all of the updates they post appear in the activity feed on your homepage. When you’re connected to hundreds of people, like I am, that can lead to you drowning in information.
And as not all of those updates will be of importance to you, it takes time and mental focus to dig through and find the ones that are – for instance, updates from your clients, key connections and close colleagues.
If only you could filter the updates to see just their activity, eh? Well…drum roll please…you can!
When you see someone in your homepage feed that isn’t as relevant to you as your A List audience, click on the three dots in the top corner of their update. A menu will drop down and you can choose to ‘Unfollow’ the person. Here’s how that looks*…
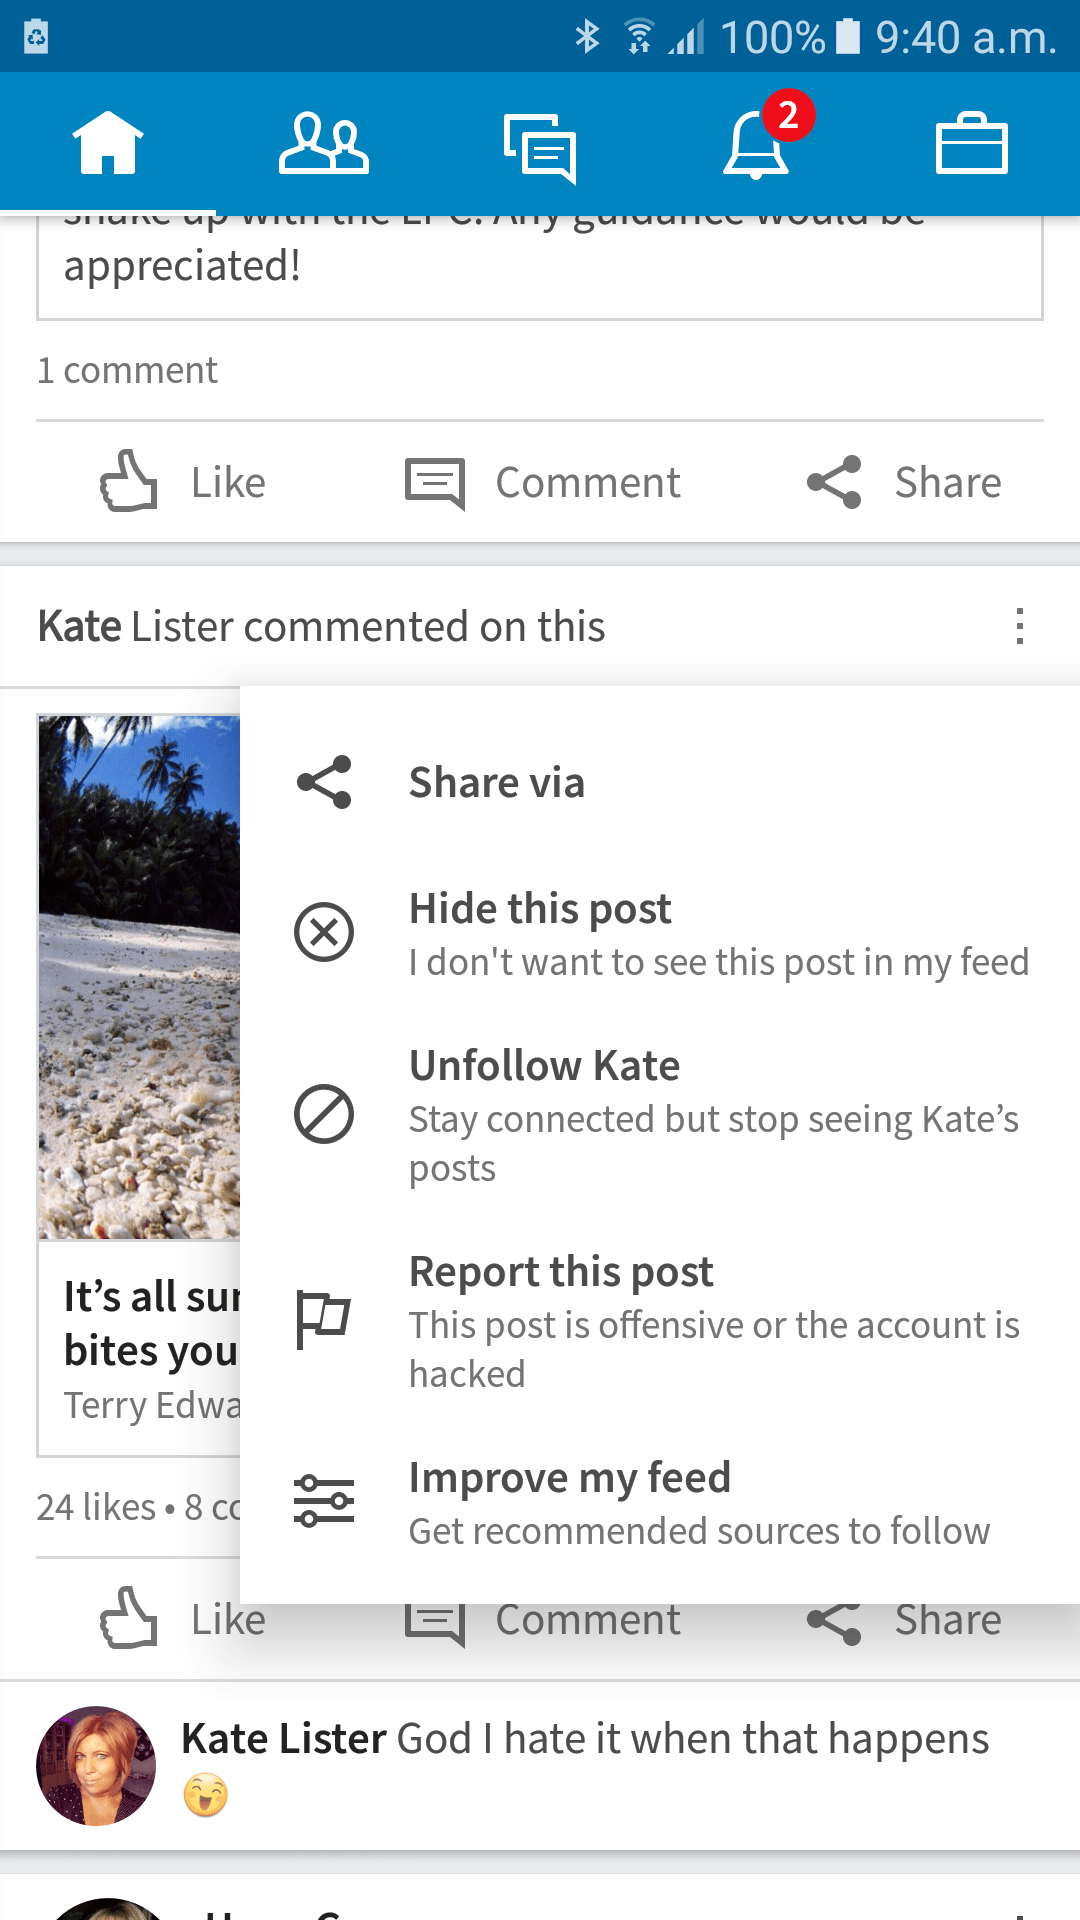
As it says, you still stay connected to the person, you just don’t see everything they post.
Do that each and every time you spot an update from someone who you don’t need to keep up with and you’ll eventually end up with just the cream of the crop in your updates.
So there you have it. Five things that, you may well have known about already, but judging by the people I speak to, there’s a chance you may not – but now you do.
Were those helpful? What simple yet effective tip would you pass on to people to get more out of LinkedIn? There’s a comment box below ready for your answer.
*I’ve used Kate Lister in my example because she’s a prolific poster and I figured she’d like the notoriety of being mentioned. (Just so we’re clear, I haven’t unfollowed her!)


Leave a Reply